Click on the thumbnails below to enlarge the screenshots.
License agreement & language selection
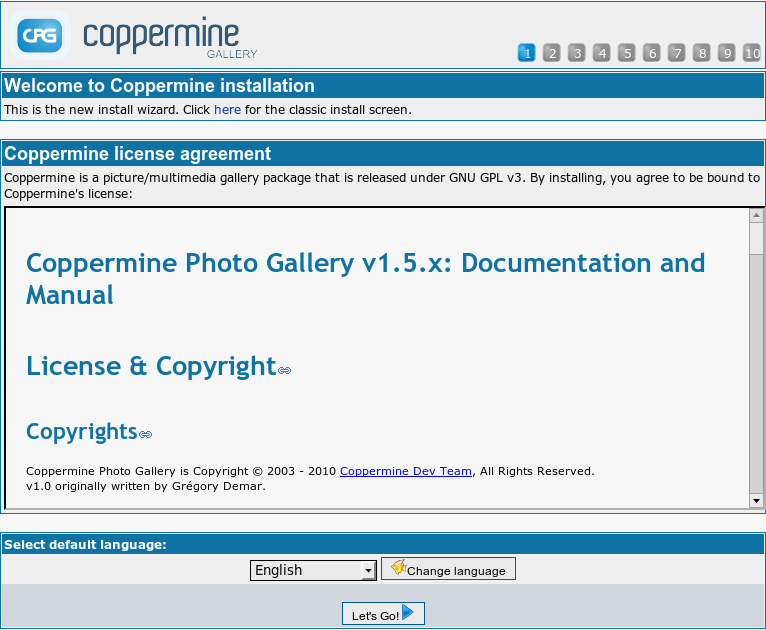
On the initial screen of the wizard you will see the
license disclaimer that coppermine comes with. If you don't accept the license, you're not allowed to continue the install wizard. You can re-read the license at any later time (after having completed the installer) by going to this documentation and navigating to "Coppermine documentation" → "License & Copyright".
Underneath the license you will find a selector that allows you to choose your prefered language during install. Usually your language will be auto-detected, so you won't have do do anything here - just click on the "Let's go" button at the very bottom of the initial screen to continue with the wizard.
Installation file check
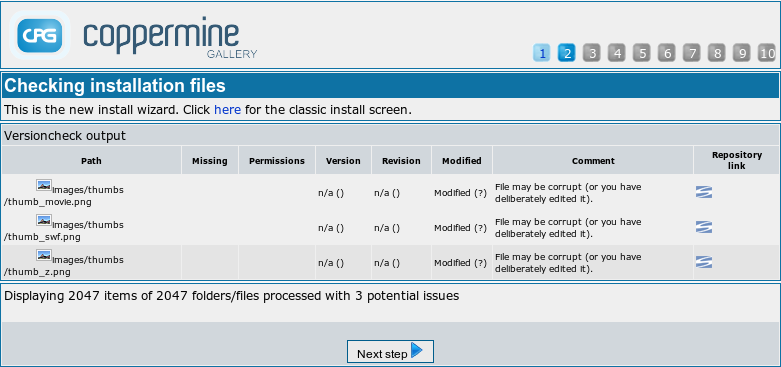
In the second stage of the installer a check is performed if the package you are about to install is actually the most recent one. This is meant to make sure that you are actually installing the most recent version of Coppermine, where all known bugs and issues have been fixed. Usually, if you have just downloaded Coppermine from the official Coppermine download at sourceforge.net you should be good. If the installer complains that you don't have the most recent version you should get the most recent version first before continuing. The only exception to this rule is if you are not using an official package (downloaded from the official Coppermine download section), but a
Git clone: the version counter is not being kept up to date between releases, so if you use a Git clone, it's expected behaviour that some files are being displayed as outdated. If you have no idea what a Git repository is, this exception obviously doesn't apply for you.
Click on "next step" if all files are up to date or if you don't want to use the most recent release (or rather: if you know your way around good enough to be sure that what you're about to install is actually what you want). In fact what happens in this step is that an embedded copy of the
version check script is being run that comes with Coppermine to determine if your copy of Coppermine that you're about to install is up-to-date, as you would not want to install an outdated copy to start with.
On some webserver setups the comparison of the hash values may not work as expected and you will therefore get a lot of message that say that the file is corrupt. It's safe to ignore this message if this happens for all binary files, as the reason probably is the fact that hash comparison doesn't work on your server. When in doubt, read up about the meaning and significance of the column "
modified".
Directory permissions check
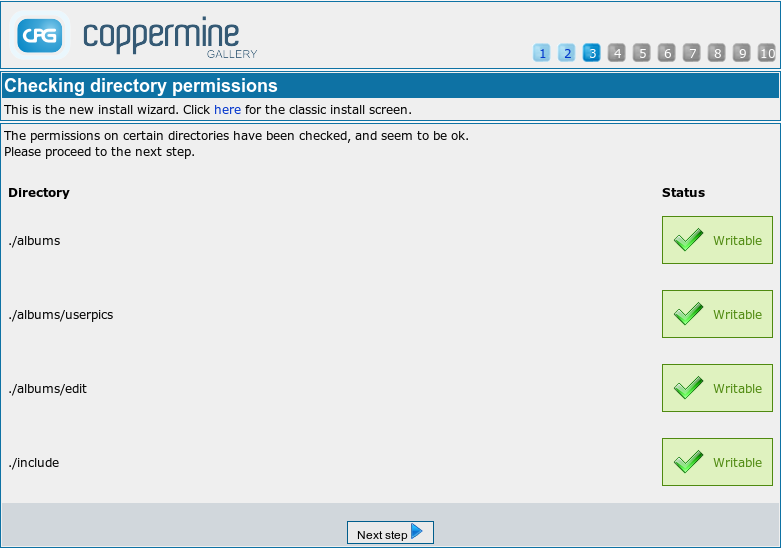
Coppermine needs write permissions in some sub-folders as suggested in
Setting permissions. The installer can't set those permissions for you, so you need to set them in advance. If you have done so successfully, all folders that the install wizard checks in this stage should be marked as "OK". If this is not the case for you (i.e. if the install wizard complains about missing permissions in one or more folders), just leave the browser window as it is and set permissions properly. After having done so, return to the install screen that you have left open in your browser and refresh the page (by using the corresponding refresh button in your browser) to see if the permission issue has been solved.
You won't be able to run the installer successfully if the permission haven't been set: the installer needs to write the configuration data you enter to a file. If the installer can't do that because of missing permissions, you will not be able to complete the install.
You can only click the next button if the needed permissions are set.
Image library selection
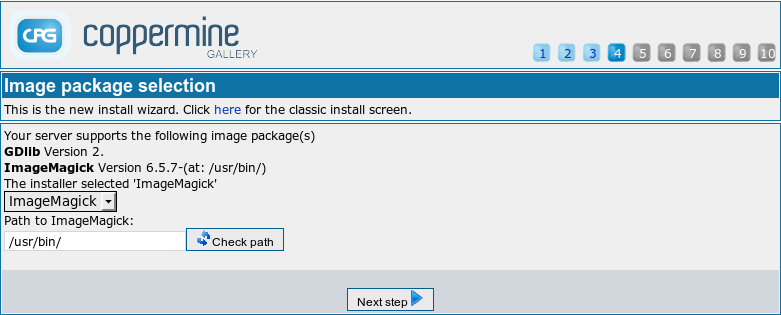
Coppermine needs an image library to be present on the server (see
minimum requirements → image library). Currently,
GD and
ImageMagick are supported. In this stage of the install wizard, various checks are being performed to determine what image library you have available on your server. Usually, you can just continue to the next step if at least one library is found. If the installer complains that it couldn't find an image library, you will have to manually specify it. You can't make this up, nor will coppermine install an image library for you - it's part of the minimum requirements to have one. If you don't have one of the supported image libraries, you won't be able to use coppermine.
The installer will default to ImageMagick if that image library can be auto-detected. On most webhosted accounts, only GD will be present/available, which is fine in most cases.
Image library testing
In this stage, the image library you have selected in the
previous step is being tested, i.e. the installer attempts to perform some operations like resizing or image creation that the coppermine script will perform as well once you have set it up. Usually, the test runs fine and you should see the generated images inside the left column. If that's the case for you, you can savely continue. If that is not the case, you might have to go one step back and choose another image library. Another possible reason for the test going wrong are missing
permissions.
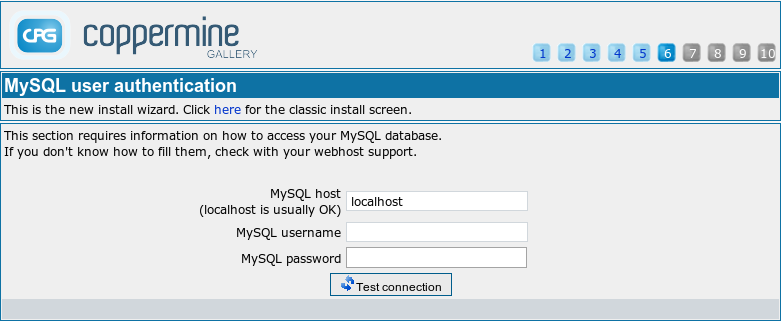
MySQL user authentication
In this step you will be prompted for your mysql data. You can not fake the mySQL information during install or provide it later, you must
know it before hand, and enter the information as required. If you're not sure about the information required, ask your webhost. The coppermine support team will
not be able to tell you what needs to be entered here - you will have to ask your webhost for that information.
You need to specify
-
the mySQL hostname
localhost is usually OK on most setups
-
the mySQL user name
The mySQL user name is not necessarilly identical to other user names related to your webhosting, but it is possible that your webhost has set up the mySQL user name to be identical with other user names, e.g. the user name that enables you to access your website's control panel or the user name for FTP access. Just to repeat the obvious: the Coppermine dev team members can not tell you what your mySQL user name is - only your webhost can do that for you.
-
the mySQL password
What has been said above for the mySQL user name applies for the mySQL password as well: it doesn't necessarilly have to be the same that applies for other areas of your website, but it's possible that your webhost has set it up accordingly. When in doubt, ask your webhost.
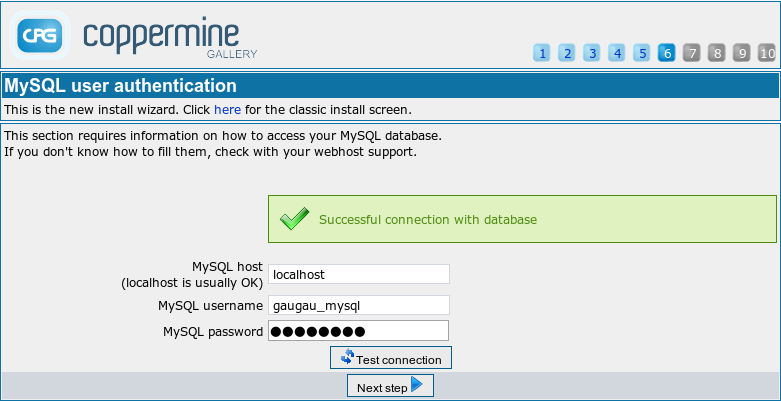
Underneath the input fields you will find a button to test the connection - if you click that button, a test is performed to see if the data you have entered is correct. If it is, a message that says "Successfull connection to database" will be displayed (see screenshot), and you can continue to the next step. If the test is not successfull, you will need to review your mySQL authentification settings.
MySQL database selection
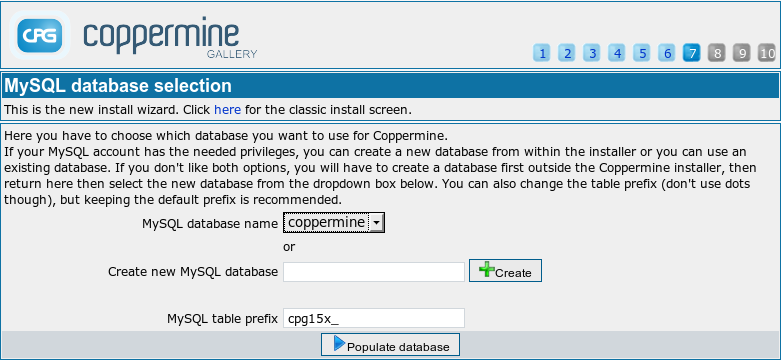
Here you have to choose which database you want to use for Coppermine.
If your Mysql account has the needed privileges, you can create a new database from within the installer or you can use an existing database. If you don't like both options, you will have to create a database first outside the Coppermine installer, then return here, then select the new database from the dropdown box below.
You can also change the table prefix (don't use dots though), but keeping the default prefix is recommended.
To install more than one instance of coppermine into one database, use different table prefixes.
After having selected your preferences, click the "populate database" button to actually continue to the next step.
Creating database structure
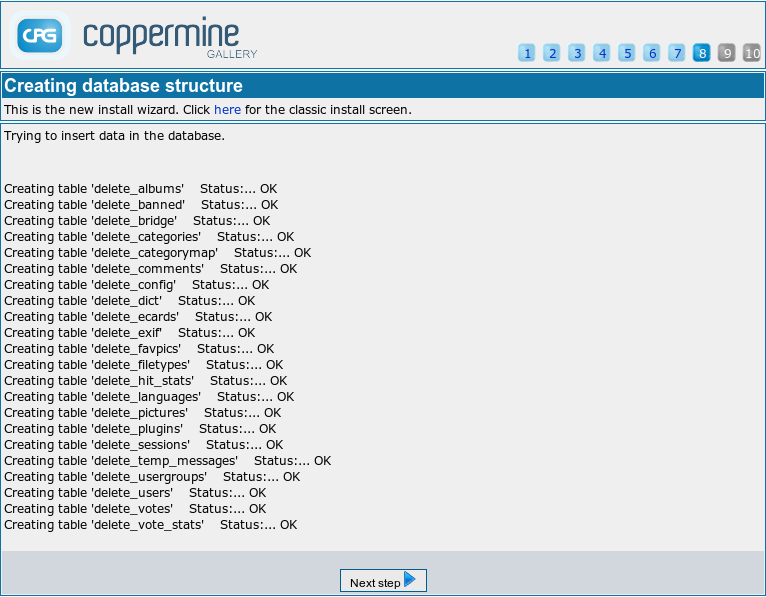
The database structure screen is for information only - there is nothing you can do to interact here. The screen shows the progress of the database operations performed to create the database tables for your gallery. If everything works as expected, you should see a couple of rows with a message like
Creating table 'XXX' Status:... OK. If you don't get the status "OK" in each line, something went wrong and needs looking into. This is usually the case if the mysql user account you specified in the step "
MySQL user authentication" doesn't have the needed privileges to create the tables. Another reason for failure can be lack of space in the database. In both cases you should contact your webhost for support.
If everything went OK you can proceed to the next step of the installer by clicking on the corresponding button at the bottom of the screen.
Create coppermine administrator
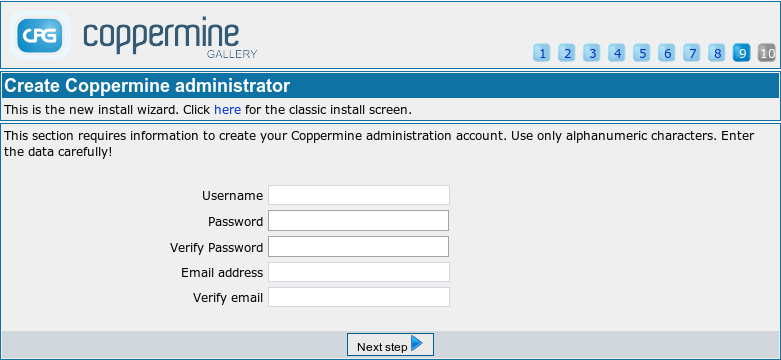
In this step you need to create a user account with admin privileges for you. It's very important to enter the data carefully. Some facts to remember:
- Use only alphanumeric characters. No spaces, no special characters!
- Use an email address that actually exists - in case you forget your password, you can request a new password to be sent to that address.
- Memorize your user name and password - you better keep it in a safe place (the coppermine dev team recommend using a third party application like KeePass to manage your passwords and store them savely).
- It's recommended not to use generic account names like "admin" or "administrator", as they can easily be guessed and thus make automated brute-force attacks more likely. The name of the admin account will shine through the coppermine user interface in various places for all actions you perform as admin (like uploading, commenting etc.), so you better consider this name carefully.
- Choose your password wisely - it mustn't be too short, nor should you choose a trivial password. The coppermine dev team recommends to come up with a sentence that means something for you and use the first letter from the words of the sentence. Ideally, the password should contain upper and lower case characters and numbers. As an example, take a look at the sentence "Whenever my neighbour's 5 dogs see me I have to run" - it will become "Wmn5dsmIh2r"
After having populated all fields as required, hit the button at the bottom.
Installation completed
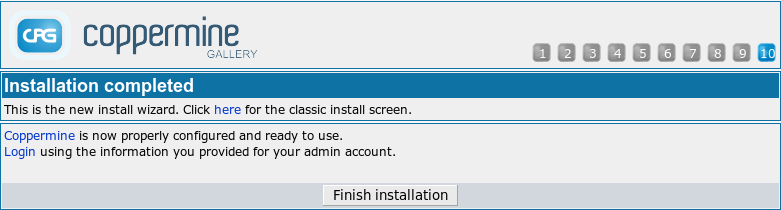
Once you see that final screen, you have made it - congrats. Click on the button at the bottom or any of the links that will send you to your new gallery's index page or the login screen where you can log in as admin to configure your gallery.
We recommend to continue reading the documentation section
Getting started now.